View Suffix Repairs
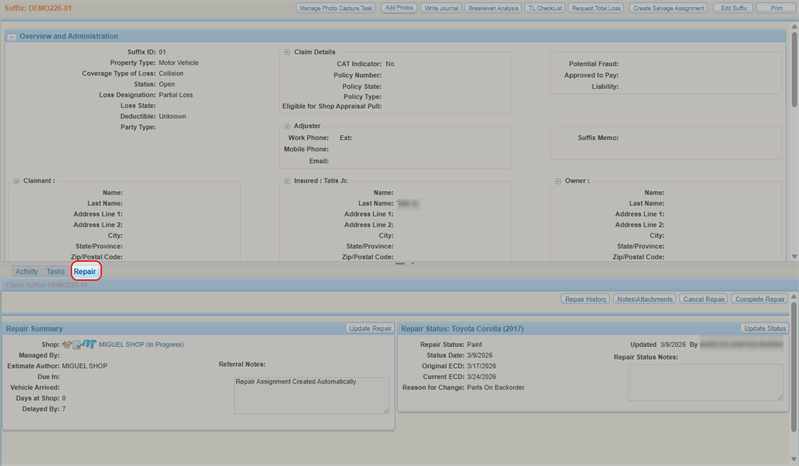
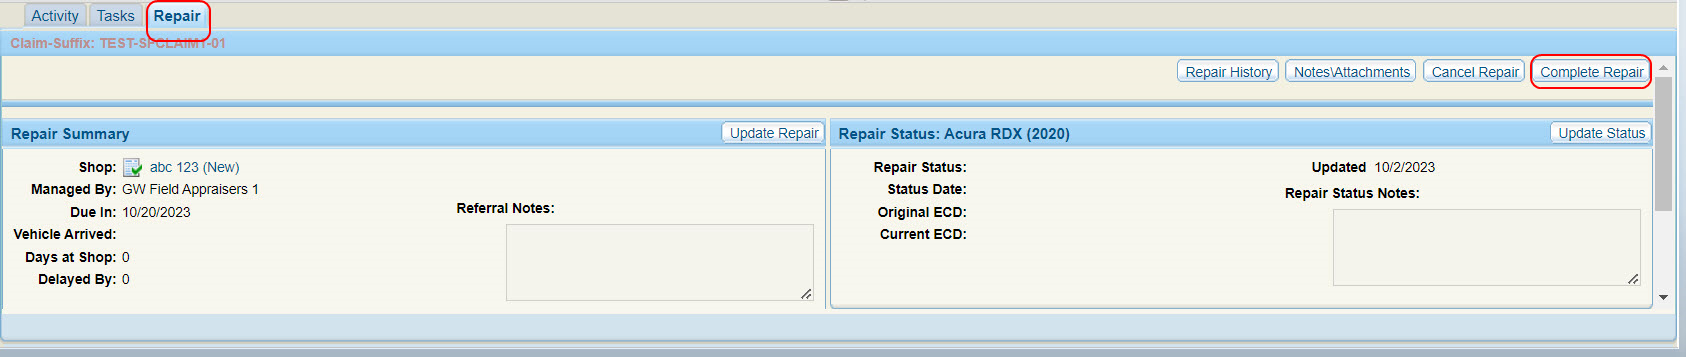
The Repairs tab in the Claim Suffix view shows the current repair status of the suffix record. If this information is not being updated by a shop using Mitchell RepairCenter, a WorkCenter user can manually update the status as needed.
How to
- Navigate to the detail's page of the desired claim. See View Claim Details for more information.
- In the claim navigation pane, select the Suffix Number.
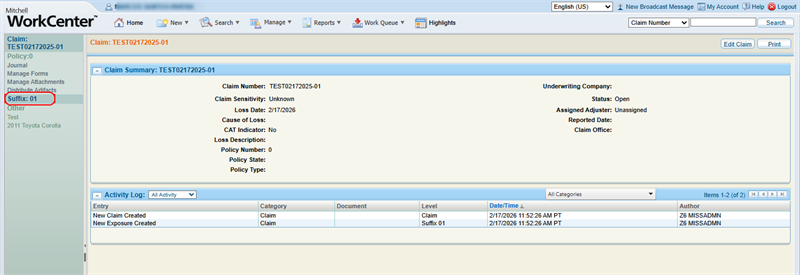
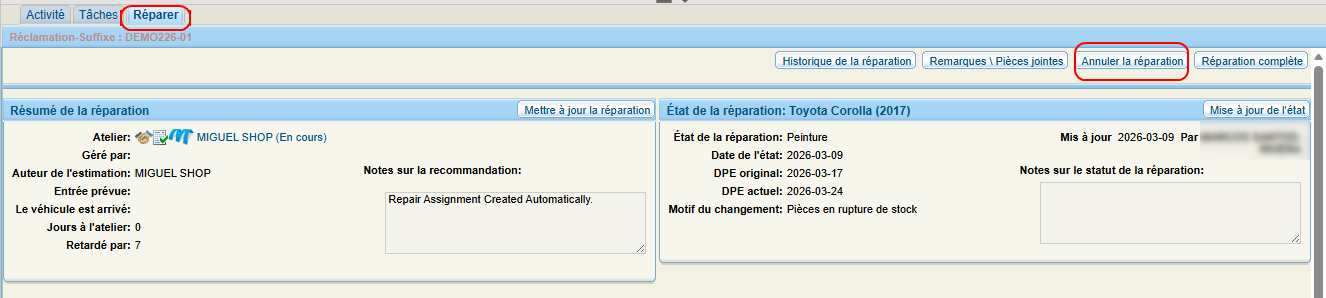
- Select the Repair tab.
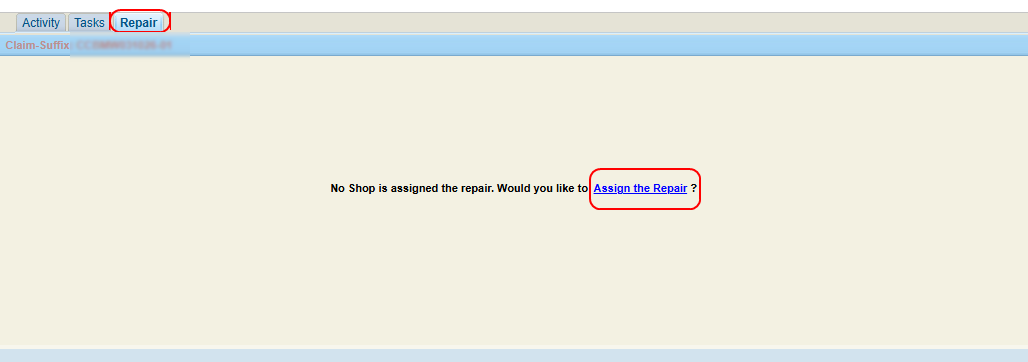
If no repair assignment exists for the suffix, you can assign one.
-
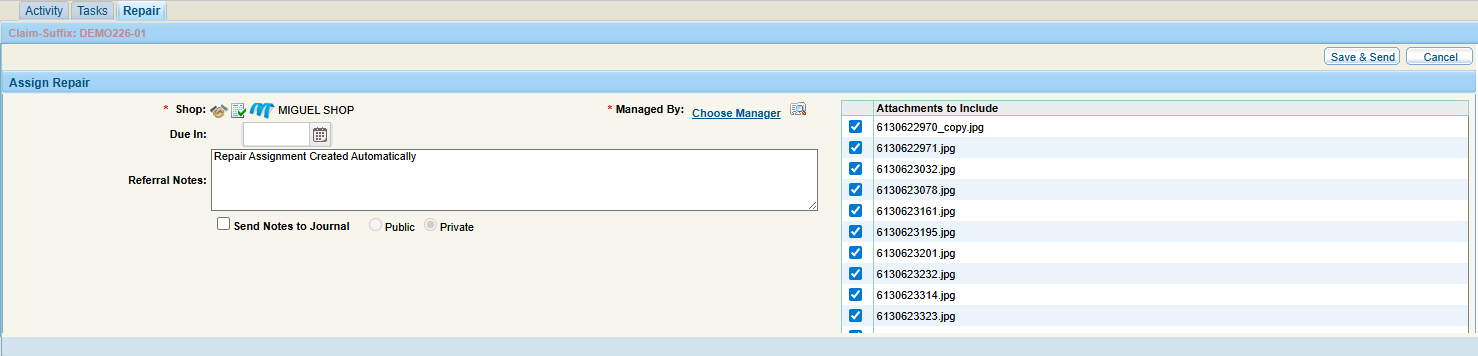
On the Repair tab, select Assign the Repair.
-
Select the desired Shop for the repair.
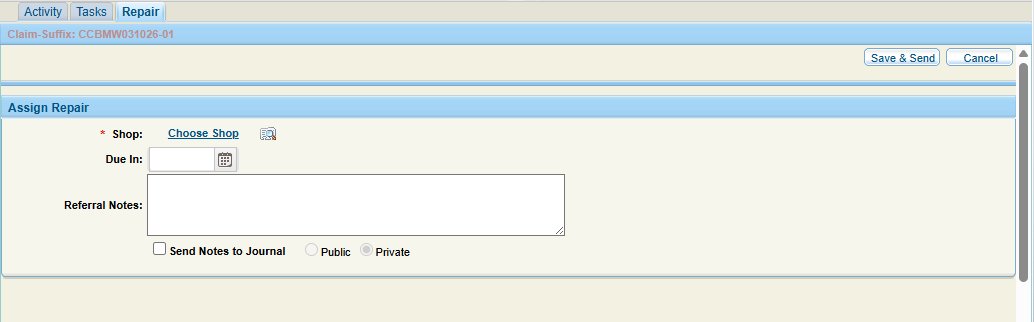
Note: To select a shop using Resource Lookup, select
 .
. -
If required, use Resource Lookup to select a manager for the repair.
-
Add Due In date and notes as desired.
Note: Select the Send Notes to Journal check box to include your repair notes in the claim journal.
-
Select Save & Send.
- On the Repair tab, select Update Status.
- Select the desired Repair Status and Shop.

- Enter the Due In date and ECD (Expected Completion Date) as needed.
Note: If you change the ECD after entering and saving a status, you must select a reason for the change.
- Select Save.
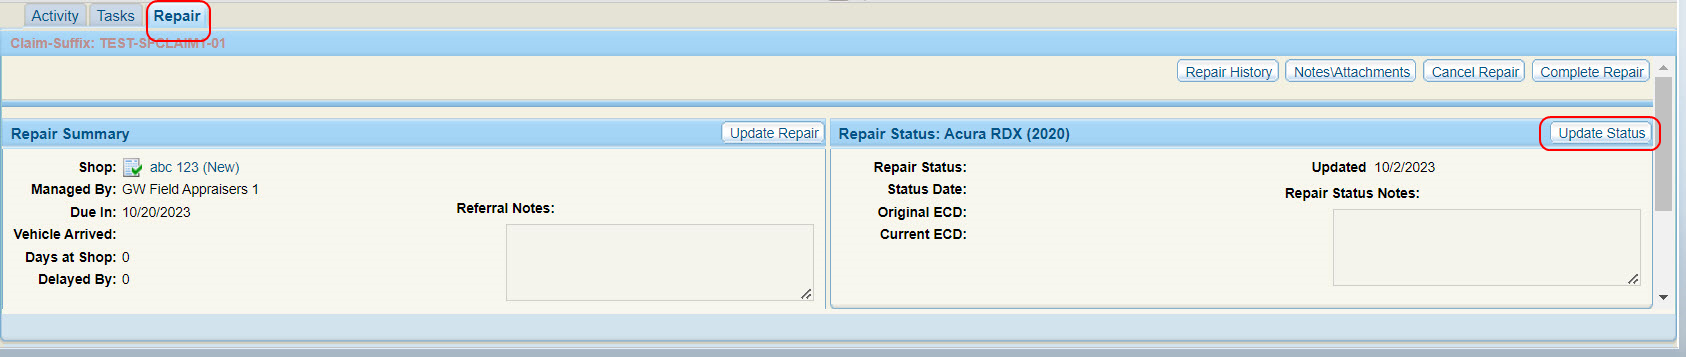
Note: To select a shop using Resource Lookup, select .
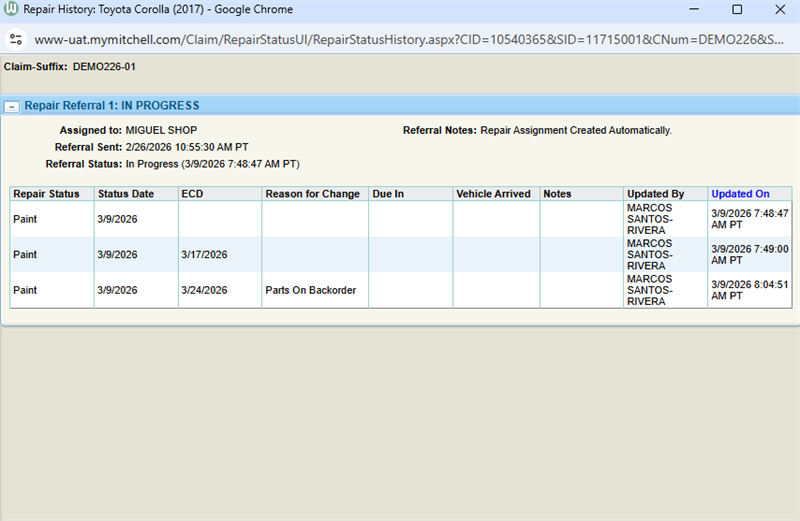
- On the Repair tab, select Repair History.
- View the Repair History window.
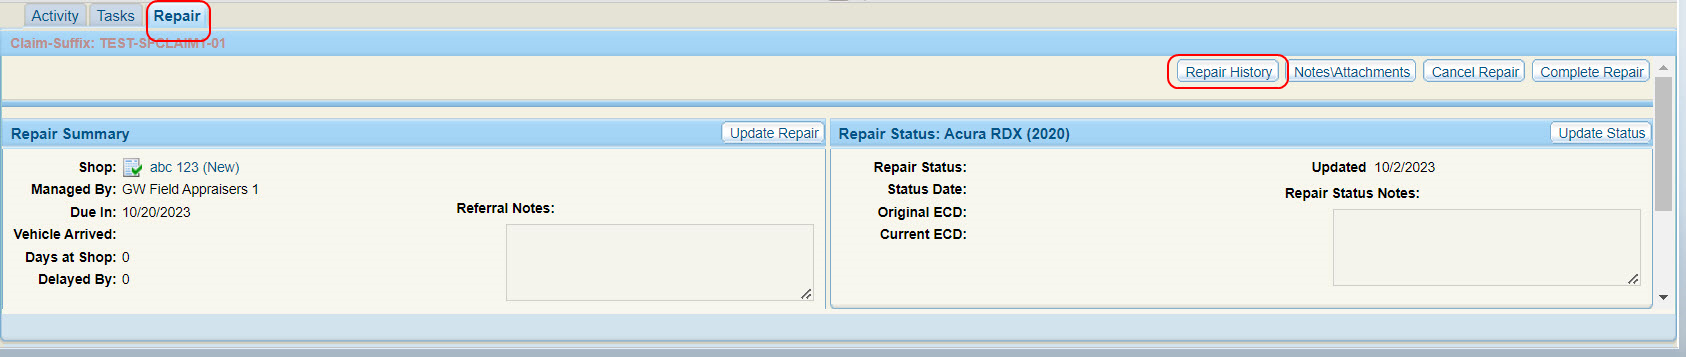
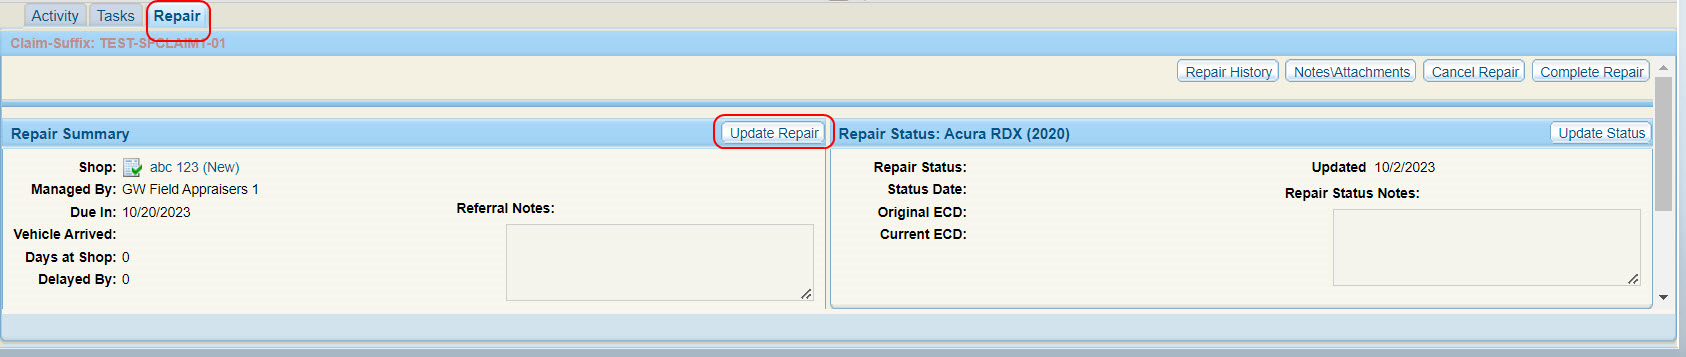
Update the repair assignment to send more information to the shop as needed.
-
On the Repair tab, select Update Repair.
-
Select the desired Shop and Manager.
Note: To select a shop using Resource Lookup, select
. -
Add notes as desired.
Note: Select the Send Notes to Journal check box to include your repair notes in the claim journal.
-
Select the check box(es) next to the attachments that you want to include in the repair update.
-
Select Save & Send.
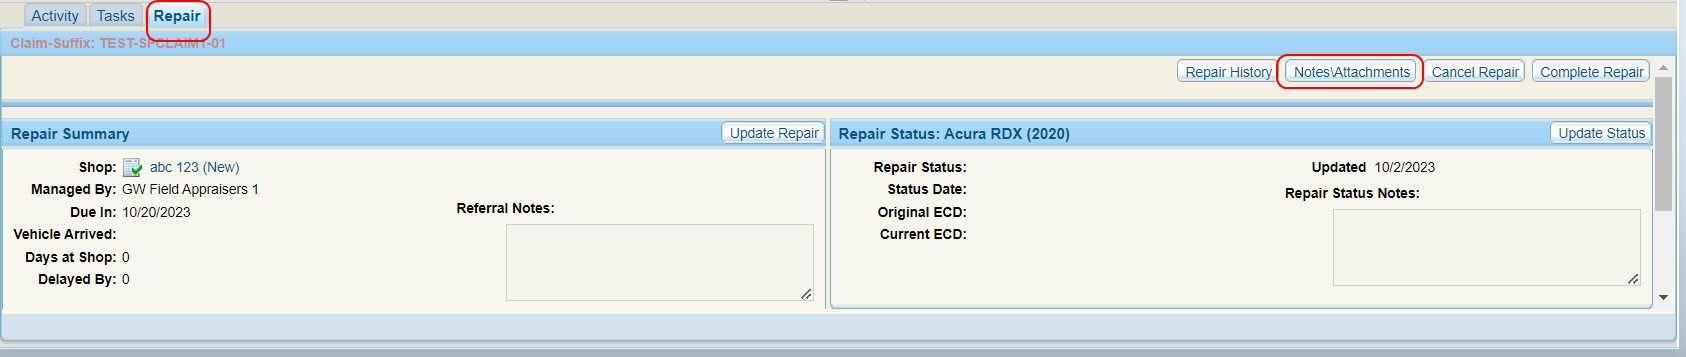
You can update the notes and attachments that are included in the repair assignment. Updating them sends an update to the shop involved with the repair.
-
On the Repair tab, select Notes/Attachments.
-
Select the desired Shop and Manager.
Note: To select a shop using Resource Lookup, select
. -
Add notes as desired.
Note: Select the Send Notes to Journal check box to include your repair notes in the claim journal.
-
Select the check box(es) next to the attachments that you want to include in the repair update.
-
Select Save & Send.
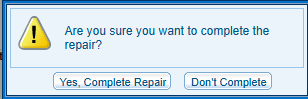
-
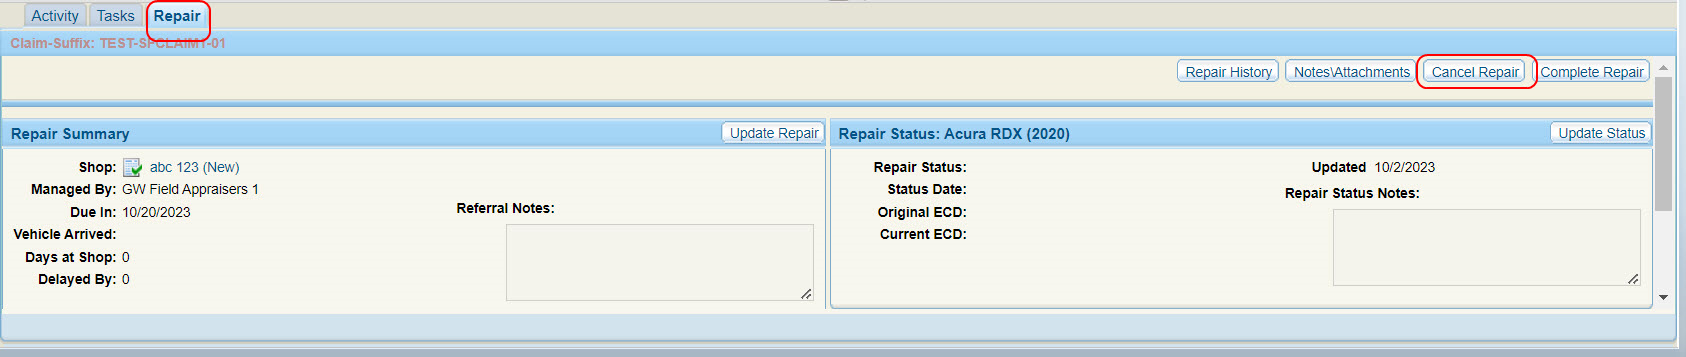
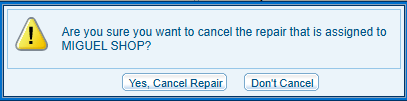
On the Repair tab, select Complete Repair.
-
Select Yes, Complete Repair to confirm the cancellation, or select Don't Complete to return to the Repair tab.