Create a New Part Profile
When you create a part profile, you can:
-
Select specific aftermarket and recycled part types
-
Choose quality standards for these parts
-
Specify preferred vendors
-
Determine how the profile will be assigned within your system
How to
-
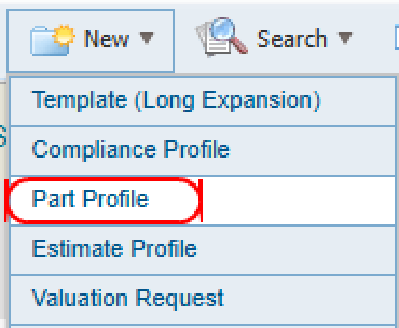
On the New menu in the navigation bar, select Part Profile.
-
Name the profile.
Note: Profiles must have unique names. Duplicates are not allowed.
-
Select Aftermarket Parts and Vendors.
-
Select Recycled Parts and Vendors.
Note: You must select at least one vendor from either the aftermarket or recycled parts vendors to use aftermarket or recycled parts in your estimates.
-
Review and, if needed, edit your profile selections.
-
Assign the profile to users.
Create a Profile
-
On the New menu in the navigation bar, select Part Profile.
-
Name the profile.
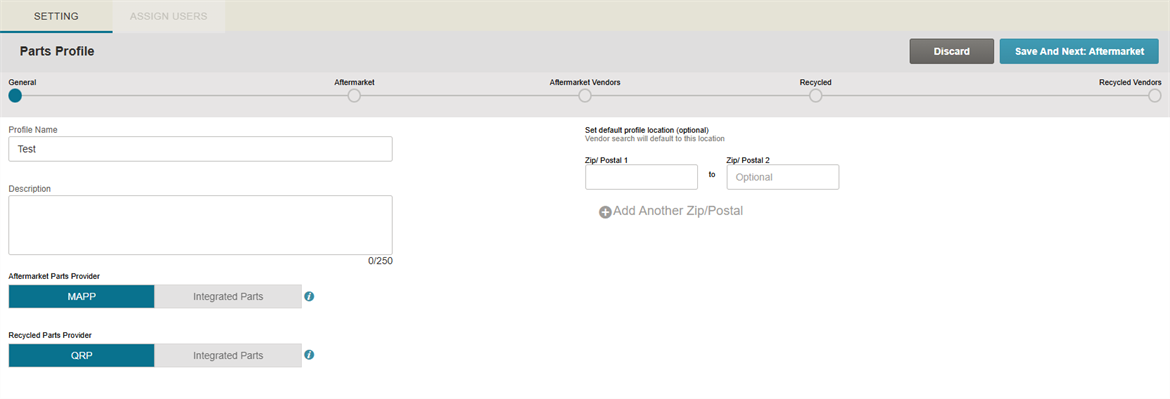
Note: Profiles must have unique names. Duplicates are not allowed.
- Select Save & Next to advance to the aftermarket parts section.
Select Aftermarket Parts
-
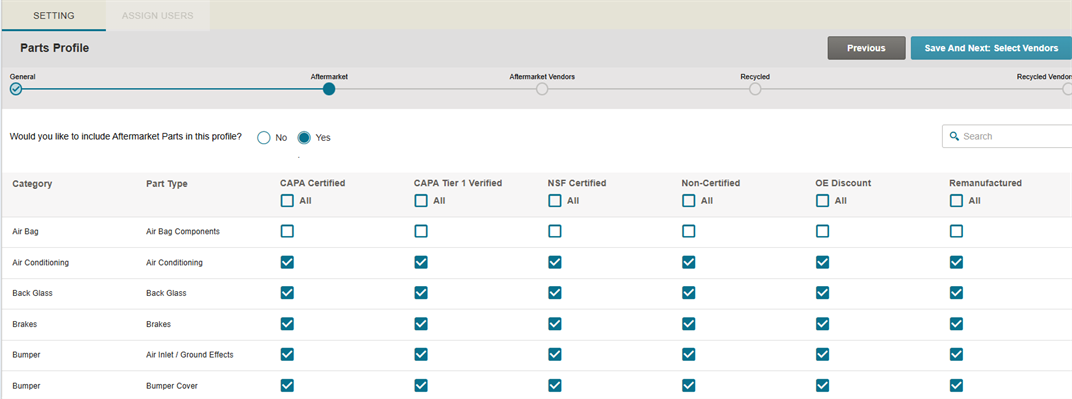
Select Yes to include aftermarket parts.
-
Select the check box(es) in each part type column (e.g. CAPA Certified) to include parts of that type, or clear the check box(es) to remove the part(s) from your part profile.
-
When you have finished selecting parts, click Save & Next to make your vendor selections.
Note: By default, all aftermarket parts except for Air Bags are included when you choose to include aftermarket parts in your profile.
Select Aftermarket Part Vendors
-
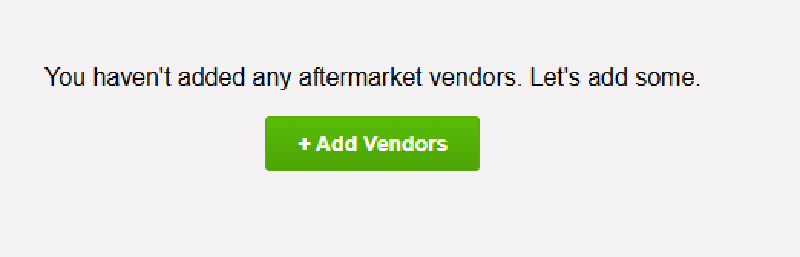
Select Add Vendors to add aftermarket vendors.
-
Enter a Zip/Postal Code.
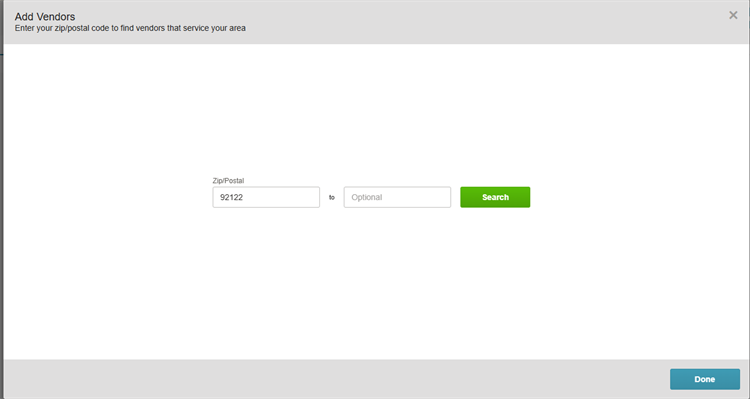
Tip: To search by a range of Zip/Postal Codes, enter a second one.
-
Select Search.
Note: The Aftermarket Part Vendor search returns a list of vendors that service the Zip/Postal Code or range provided.
-
Select the desired vendor(s) names to add them to your profile.
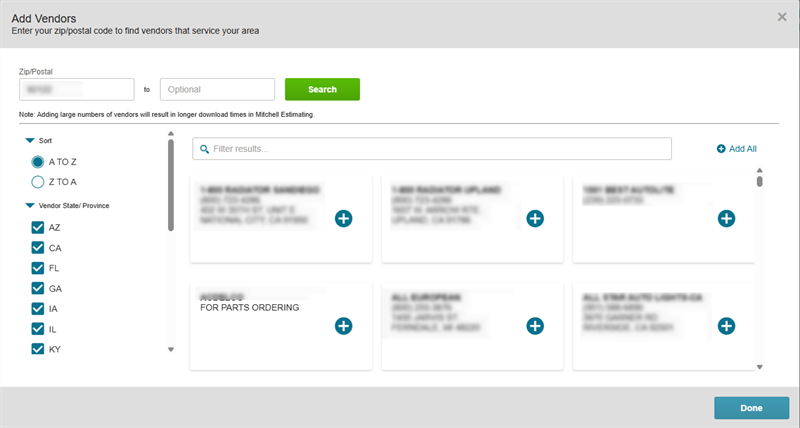
Note: Adding a large list of vendors to your profile may cause delays when downloading the profile in Mitchell Cloud Estimating.
-
When you are finished adding vendors, select Done.
-
Optionally, select a vendor in the left pane and select the appropriate check box(es) to choose which parts from the vendor to use in your profile.
-
Click Save & Next.
Select Recycled Parts
-
Select Yes to include recycled parts.
-
Select the check box(es) associated with each part type to include parts of that type, or clear the check box(es) to remove the part(s) from your part profile.
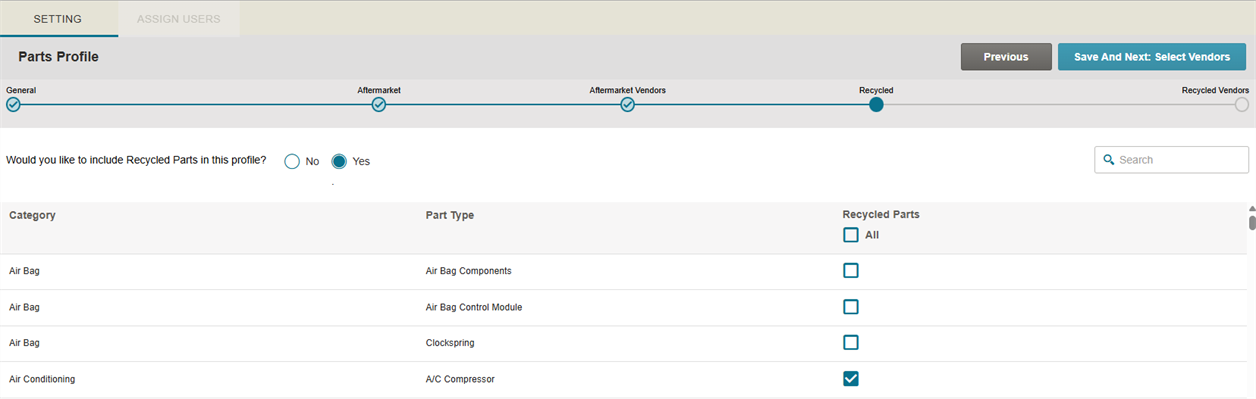
-
When you have finished selecting parts, select Save & Next to make your vendor selections.
Note: By default, all categories and types (except for Air Bags) are selected when you choose to include this part type in your profile.
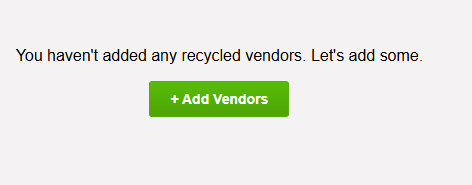
Select Recycled Part Vendors
-
Select Add Vendors to include recycled parts vendors.
-
Enter the City, State/Province, or Zip/Postal code.
Note: The Recycled Part Vendor search is a proximity search. It returns a list of vendors in the area searched.
-
Select Search.
-
Select the desired vendor(s) names to add them to your profile.
Note: Adding a large list of vendors to your profile may cause delays when downloading the profile in Mitchell Cloud Estimating.
-
When you are finished adding vendors, select Done.
-
Optionally, select a vendor in the left pane and select the appropriate check box(es) to choose which parts from the vendor to use in your profile.
-
Click Save & Review to save your profile and review your profile selections.
Review Part Profile Settings
- Review the settings in your profile.
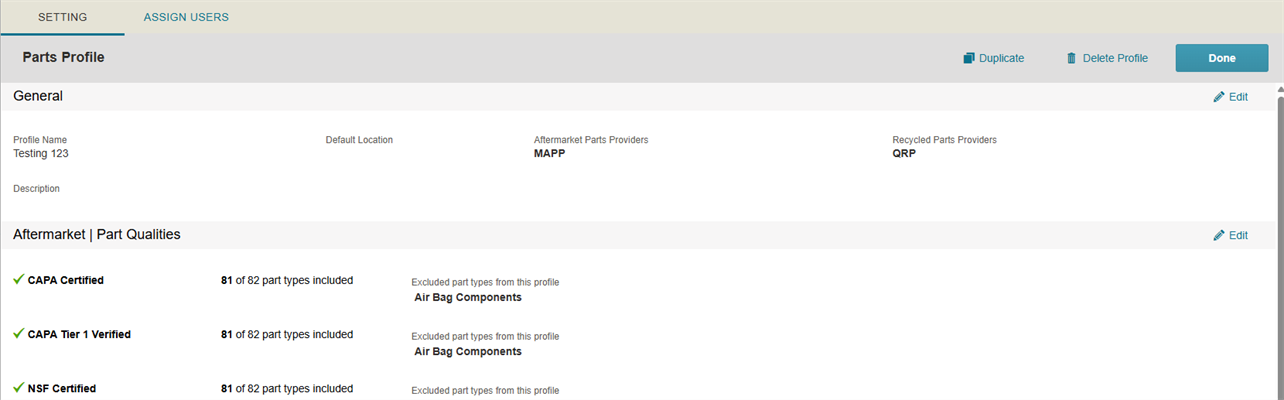
- Optionally, select Edit to edit the section(s) your profile as needed.
Assign Users to Profile
- Select the Assign Users tab to view the users you can assign to your part profile.
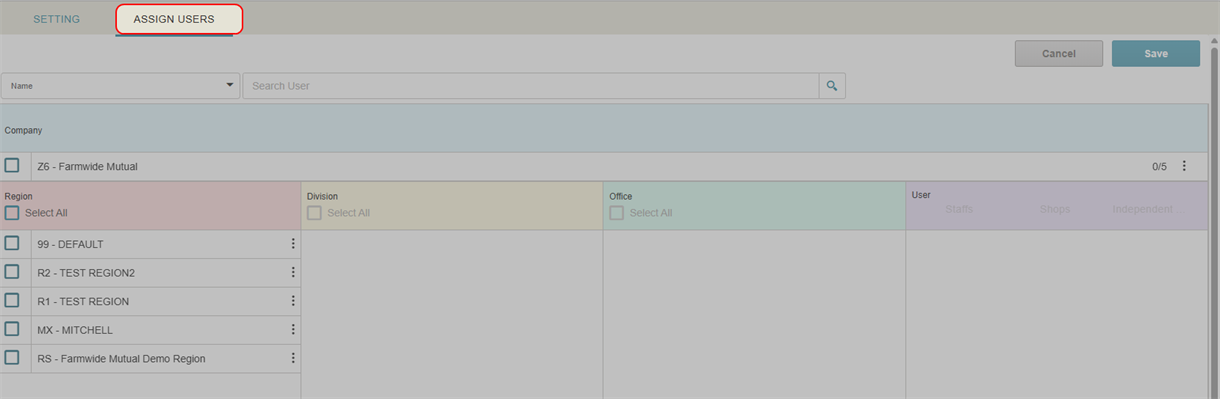
- Find and select users to assign to the profile. See Assign Users to a Parts Profile for more information.
- After you have finished your selections, select Done to complete your profile and user selections.
Note: This feature is not available to all users. It is available to administrative users only.