Manage Journal Entries
Use journal entries to communicate with your business partners within the claim itself. This ensures critical communications are not lost in phone conversations and e-mail.
On the Journal page, you can:
-
Print journal entries
-
Categorize journal entries
-
Expand and collapse the journal entry view
-
Filter the list of journal entries
How to
You can print the journal entries as they display on the Journal page.
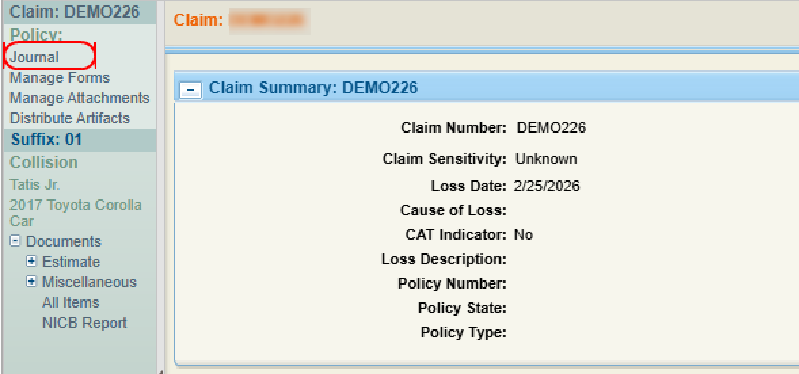
- Navigate to the desired claim and open it.
- On the claim navigation pane, select Journal.
- In the Journal window, select Print.
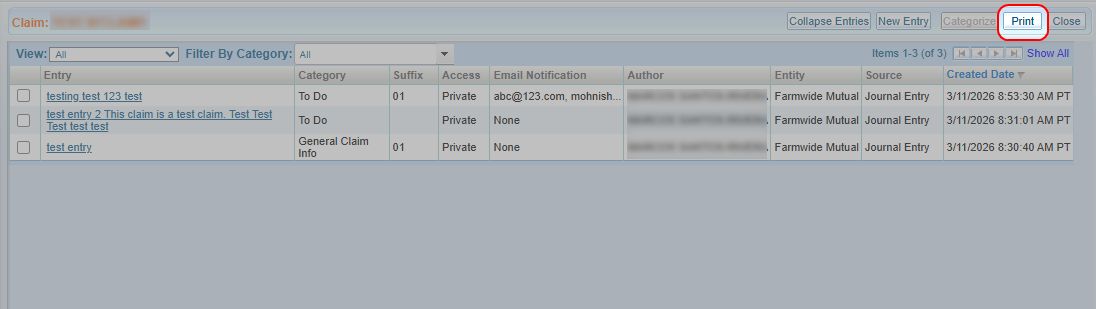
- Follow the instructions from your internet browser to print the list of journal entries.
You can categorize journal entries.
- Navigate to the desired claim and open it.
- On the claim navigation pane, select Journal.
- In the Journal window, select the checkbox(es) next to the desired journal entry or entries.
- Select Categorize.

- Select the desired category from the list.
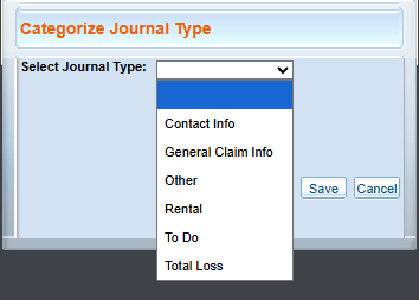
- Select Save.
You can modify how journal entries display on the Journal page to either show complete content or condensed previews.
- Navigate to the desired claim and open it.
- On the claim navigation pane, select Journal.
- In the Journal window, use the following display controls:
- Select Expand Entries to view the complete text of all journal entries in the list.
- Select Collapse Entries to view condensed previews of the entry text.
-
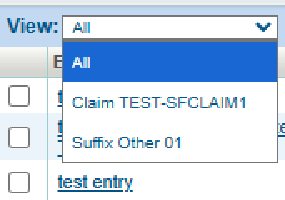
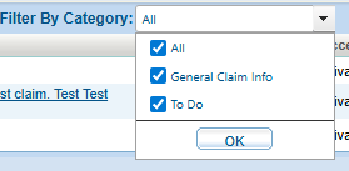
Filter the View as needed. You can filter the Journal Page list to show all entries or only those associated with the claim or a suffix.
-
On the Filter by Category list, select the checkbox next to each category you want to display in the list.
-
Select any column heading to sort the Journal Page list. A
 next to the column heading indicates ascending order. A
  next to the column heading indicates descending order.
Reference
| Name | Description |
|---|---|
| Entry | Select the text of the entry to view the entry's details. |
| Category | The category of journal entry (Contact Info, General Claim Info, Other, Rental, To Do, Total Loss). |
| Suffix | The suffix associated with the journal entry. |
| Access |
The level of access assigned to the journal entry:
|
| Email Notification | The user(s) set to receive email notifications about the entry. |
| Author | The author of the entry. |
| Created Date | The date and time the journal entry was created. |