Add a New Journal Entry
Use journal entries to communicate with your business partners within the claim itself. This ensures critical communications are not lost in phone conversations and e-mail.
Access to journal entries is set to private (viewable only to insurance staff at the same company) by default, but you can change the visibility of an individual entry. Public entries are also accessible to affiliated shops and independent appraisers. You can also configure your default preference in the My Account window.
You can send email notifications about the journal entry to staff and non-staff resources. You can also send tasks related to the entry to staff resources.
Note: After a journal entry has been saved, it is a permanent record and cannot be deleted.
How to
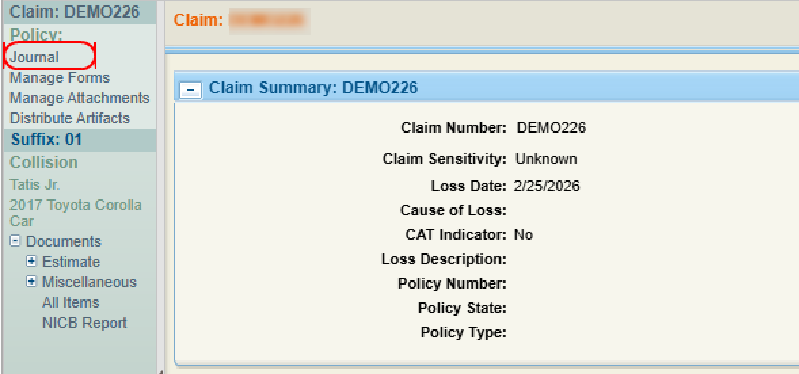
- Navigate to the desired claim and open it.
- On the claim navigation pane, select Journal.
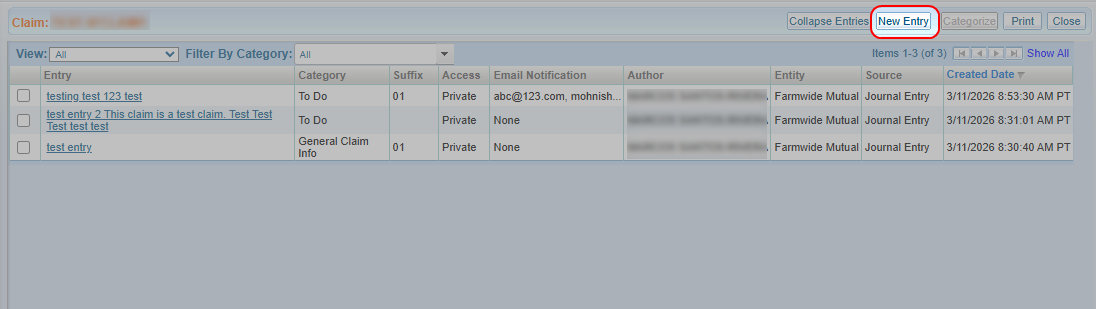
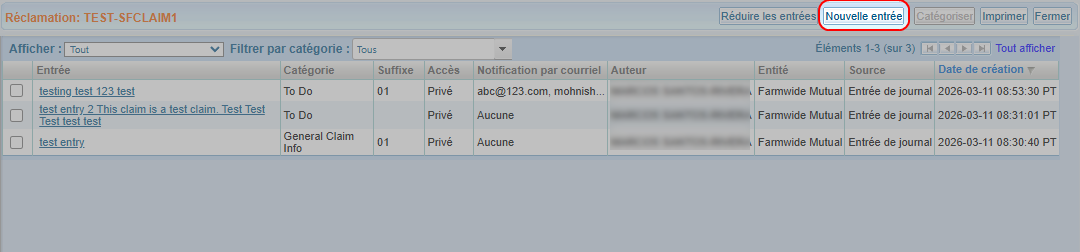
- In the Journal window, select New Entry.
- In the Association
list, select the claim or suffix that is related to the entry.
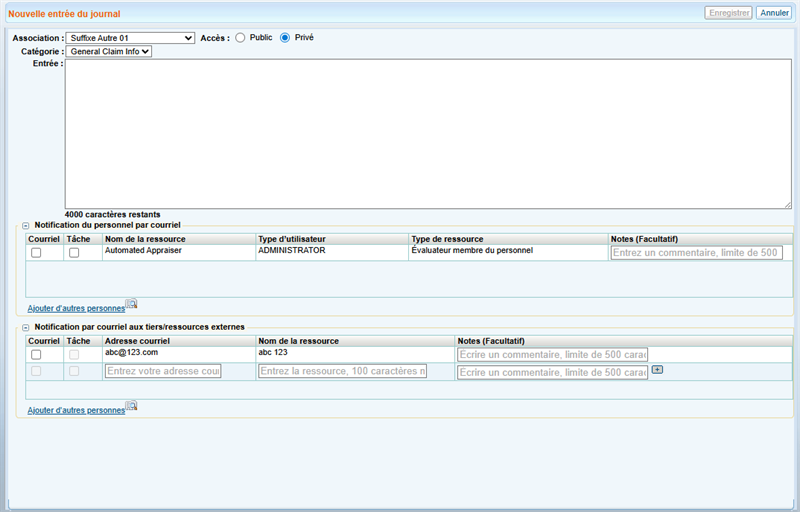
- Select whether you want the entry to be Public or Private.
- Select a Category for the entry from the list.
- Type the content of the journal entry in the Entry field.
-
Select any email notifications and tasks you want to send out to staff and non-staff resources.
-
Select Save when finished.
Track email notifications and task assignments in the Activity Log. See View the Activity Log for more information.
-
In the New Journal Entry window, select
 to expand the Staff Email Notification section.
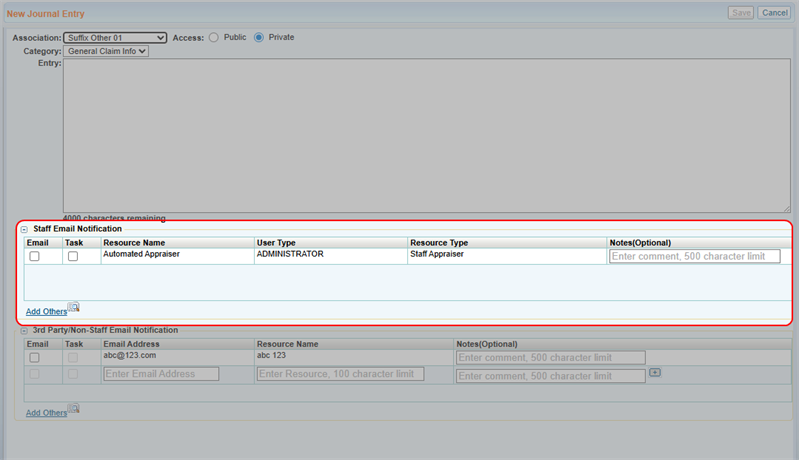
-
Select Add Others
 to add more resources to the Staff Email Notification list using Resource Lookup.
 -
Select the Email check box for each staff member you want to receive e-mail notifications.
-
To assign a task to the staff member, select the Task check box. Tasks are automatically named "Review Journal" and appear on the Task tab on the Claim-Suffix page.
Note: You cannot assign a task if you have selected a claim in the Association list.
-
Optionally, enter notes to each individual staff member. Notes are only visible to the designated recipient.
-
In the New Journal Entry Window, select
to expand the 3rd Party/Non-Staff Email Notification section.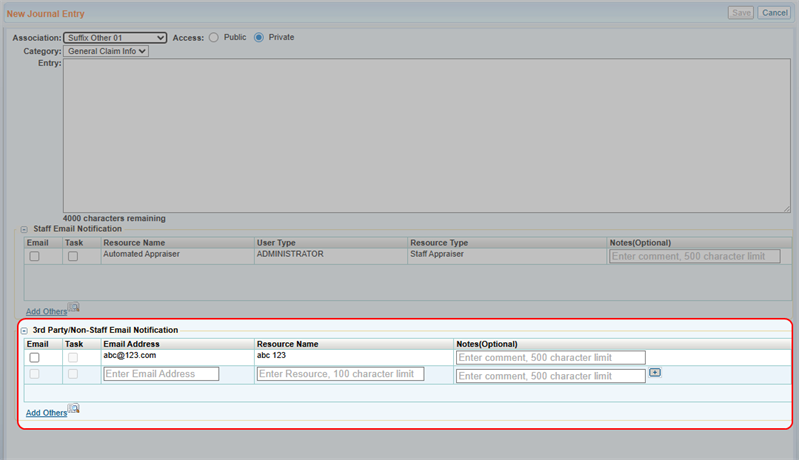
-
Select Add Others
to add more resources to the Staff Email Notification list using Resource Lookup. You can also add a 3rd-party member by entering their email address. -
Select the Email check box for each resource you want to receive e-mail notifications.
-
Optionally, enter notes to each individual resource. Notes are only visible to the designated recipient.