Create a New Quote
Create a new quote to start the Point of Sale process. The new quote process begins with Customer Information and moves through the stages of Save Quote, Work Order, Unpaid Invoice, and Paid Invoice. As part of the new quote process, you have access multiple work pages displayed just above the Stages ribbon. These work pages (Select Parts, Customer Info., etc.) provide you with key access points to the quote, work order, and invoice stages of a glass repair or replacement.
IMPORTANT: You can move from work page to work page at any stage in the new quote process (Quote Work Order, Invoice). However, you cannot return to an earlier stage in the process. For example, once you have moved from the Quote to the Work Order stage, you cannot return to Quote to alter it.
Work Pages and Stages
Work Pages allow you to move between key access points in the quote, work order, and invoice stages of a glass repair or replacement. At the start of the new quote process, the work pages default to the Select Parts work page. Work pages are accessed from the work pages ribbon.

Glass job Stages flow from Save Quote to Work Order, Unpaid/Paid Invoice. After entering Customer Information, you start at the Quote stage. Once you complete a stage, e.g., Quote, simply click the next stage in the ribbon to proceed.
How to
Create a new quote for current account
-
Press New Quote on the menu bar at the top of the page.
-
Complete the Billing and Customer Information and press Create As New Account or Select Vehicle to continue.
NOTE: You can enter customer information throughout the job. Adding Customer Information at this point in the job is suggested but not required. Billing and
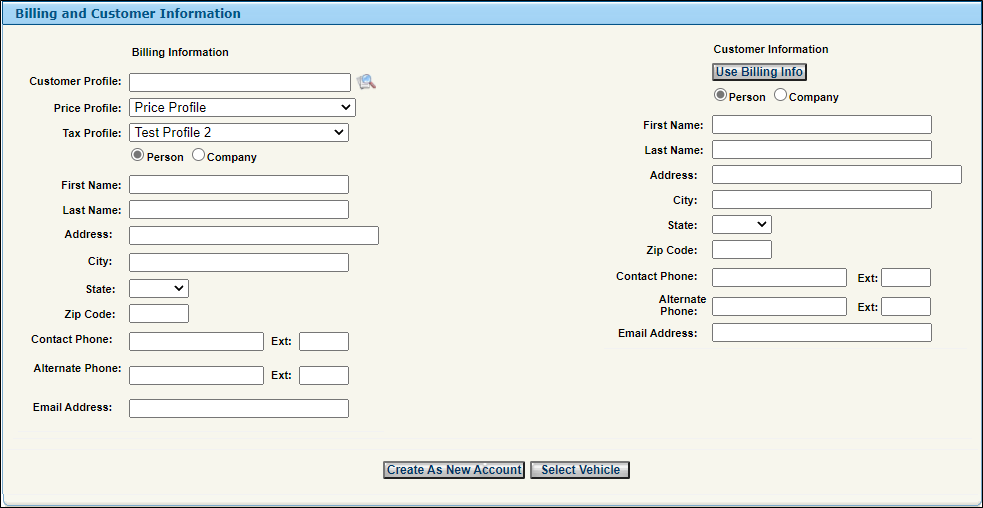
NOTE: Customer First and Last Name are required fields.
-
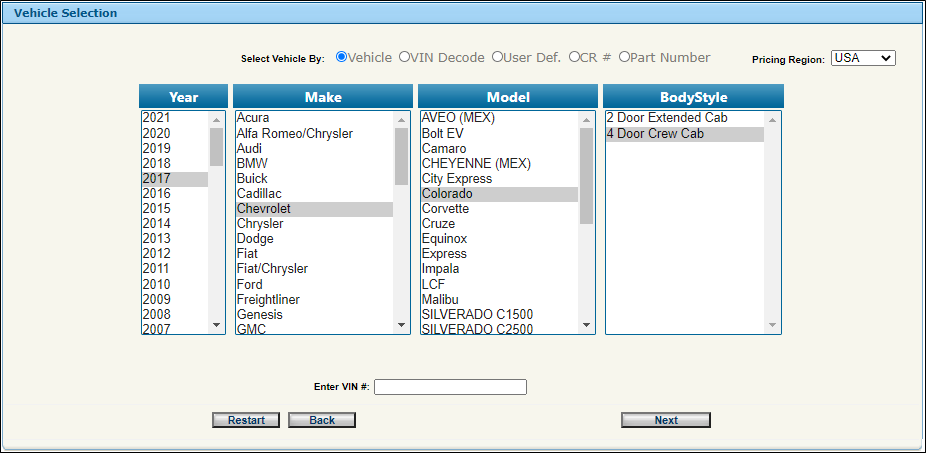
Complete the Vehicle Selection information and press Next to create a new quote and select parts.
NOTE: Enter the VIN#, if available, greatest accuracy and ease of use. Vehicle selection by year, make, model, and body style is the default method of selection. Once you make a selection in a column, the next column of options appears.
-
Select parts from the Parts List.
NOTE: In the Parts List, options for more information on a part, including IRP's (Integrated Repair Procedures) are available. Look for the
 button to view additional information about a part or to review IRP's for a part.
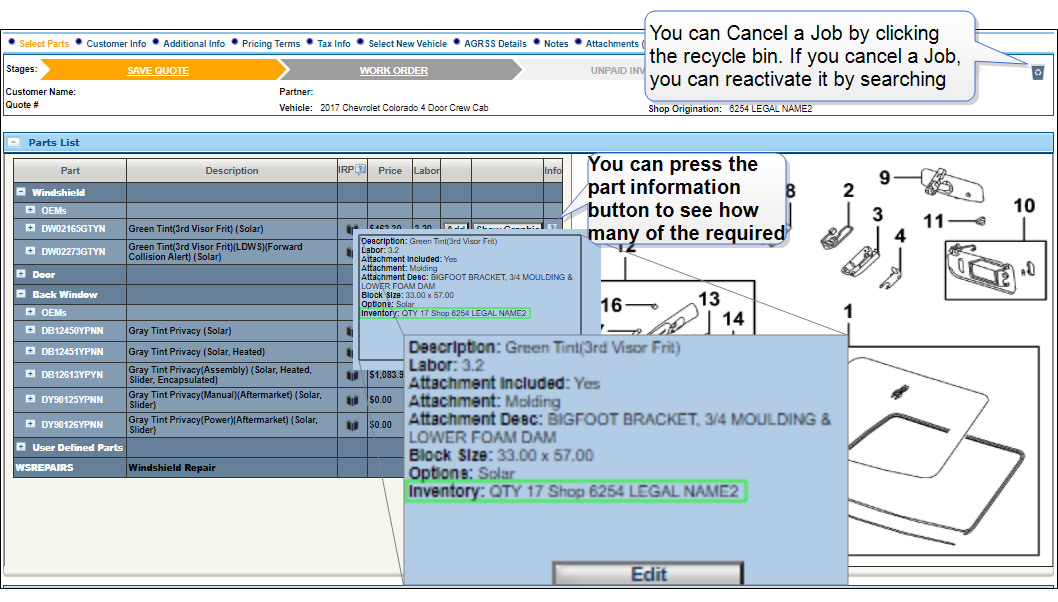
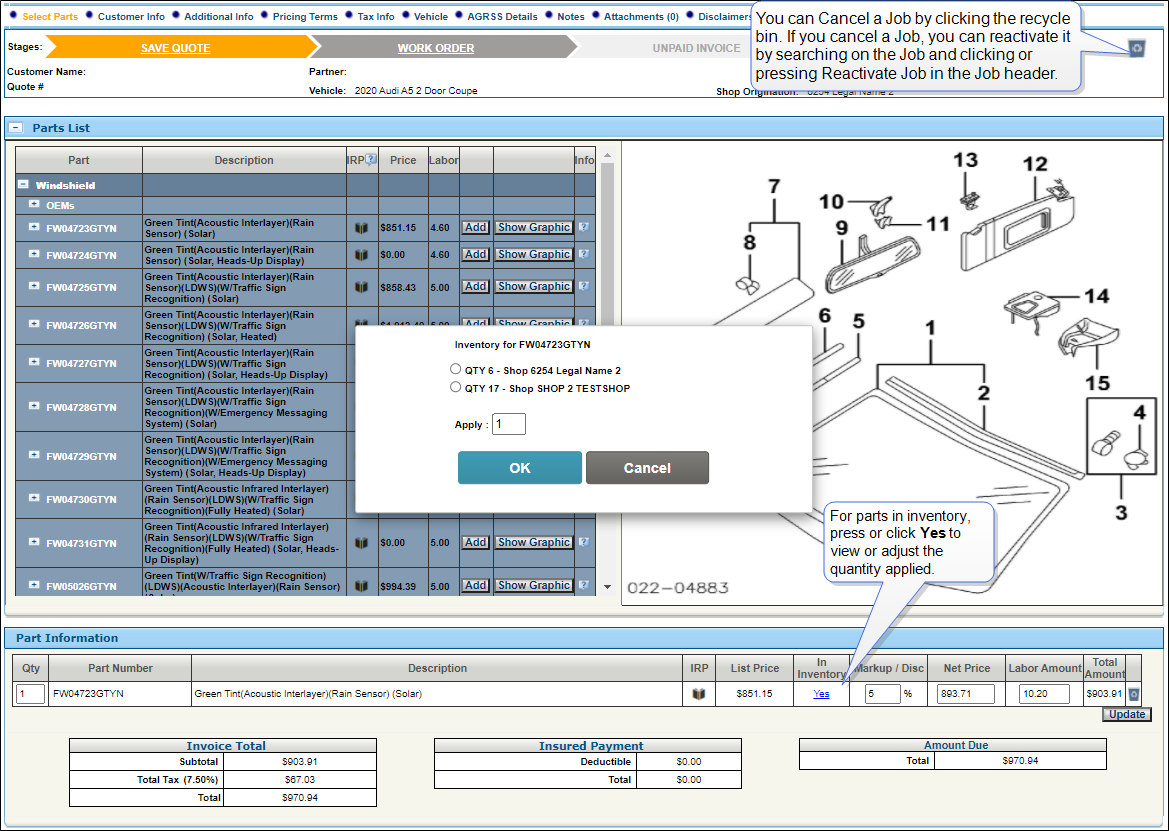
IMPORTANT: If you do not want to save a quote for this job, you can return to the Home or other Cloud Glass pages at this point without saving information for this job. If you do want to save a quote for this job, press Save Quote in the stages ribbon. The Save Quote ribbon changes to Quote.
NOTE: The Part Information section supports User Defined Parts editing and a miscellaneous line item.
-
(Optional) Save this quote by pressing Save Quote in the Stages ribbon near the top of the page.
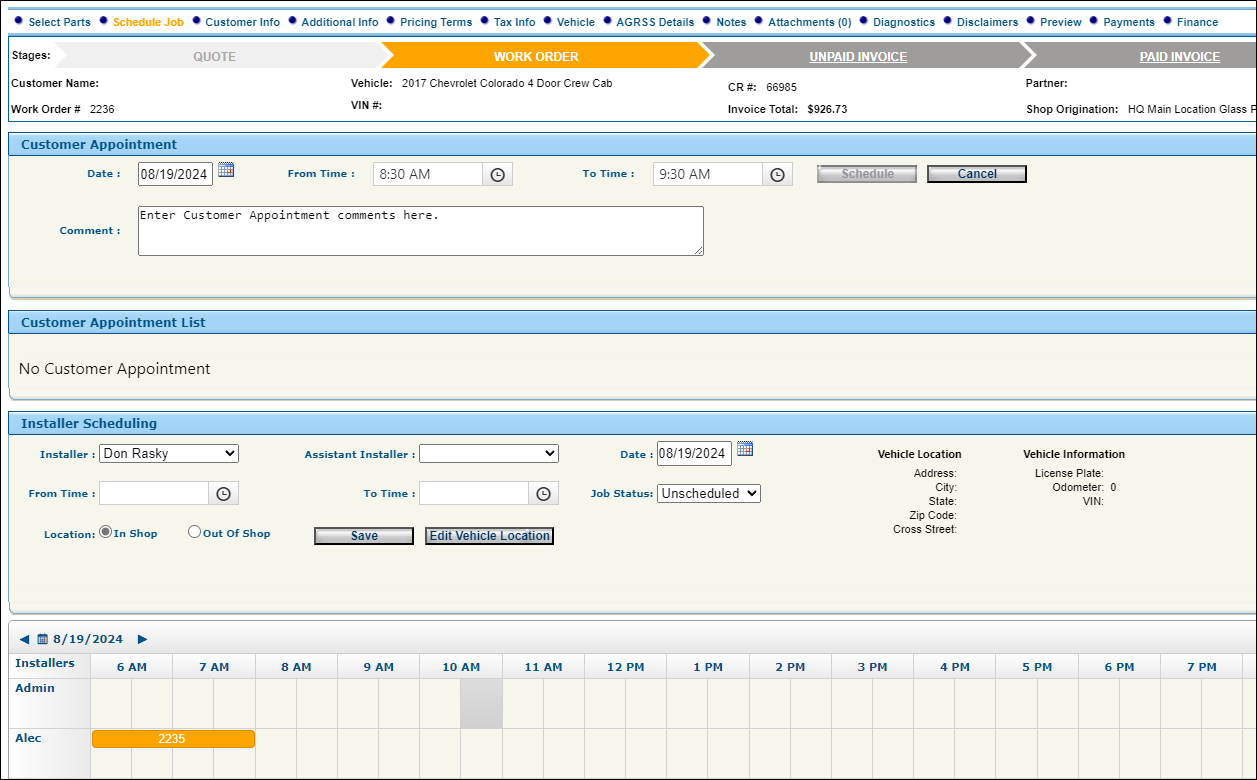
NOTE: After saving the quote, you can schedule the job by clicking or pressing Schedule Job in the work pages ribbon.
-
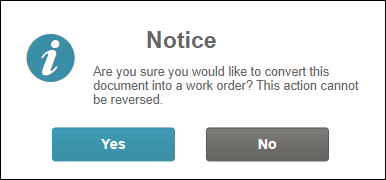
Press Work Order in the Stages ribbon near the top of the page when you are finished adding parts and to enable scheduling for this job.
IMPORTANT: Converting a quote to a work order is an action that cannot be reversed.
-
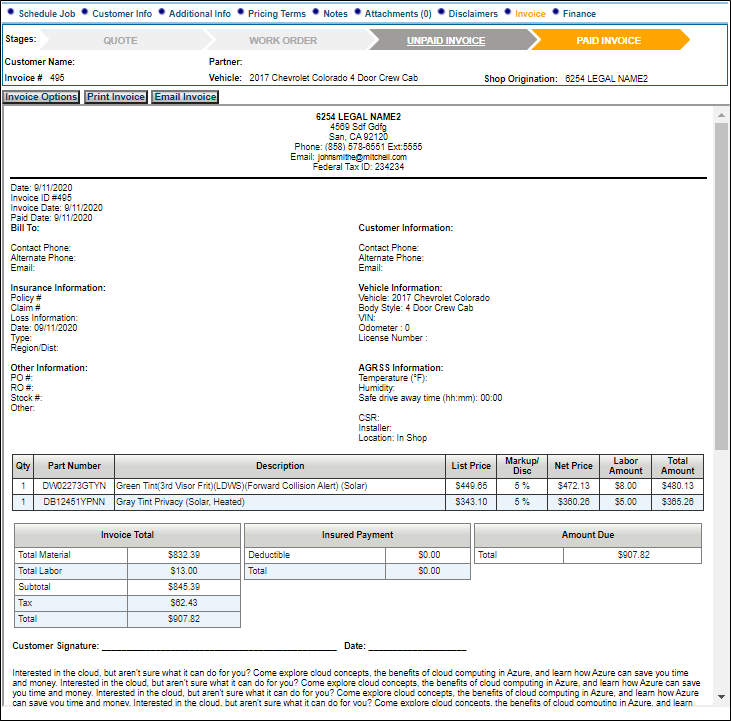
Press Unpaid Invoice in the Stages ribbon near the top of the page to create an unpaid invoice.
IMPORTANT: Converting a work order to an Unpaid Invoice is an action that cannot be reversed.
-
Press the Schedule Job item in the work pages ribbon to open the Scheduling page and schedule the job.
-
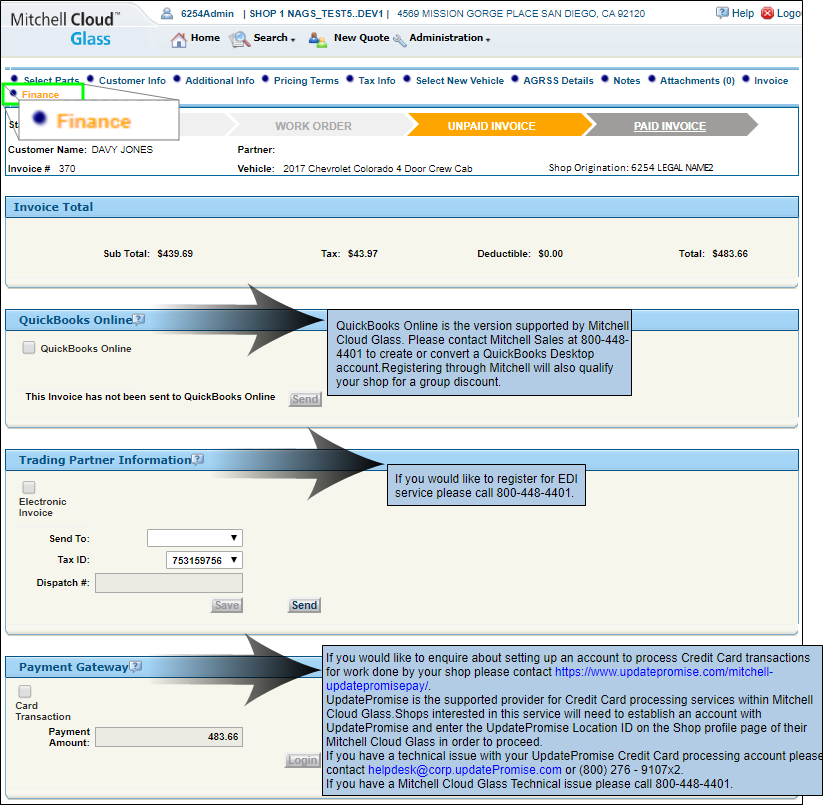
Press Finance in the jobs ribbon (* Select Parts * Customer Info...* Attachments* Invoice * Payment) near the top of the page when you are ready to process payment for the job.
-
Press Paid Invoice in the Stages ribbon near the top of the page when an unpaid invoice is ready to be marked as paid.
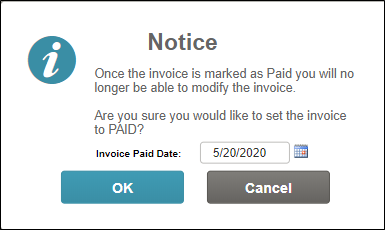
IMPORTANT: Converting an unpaid invoice to a paid invoice is an action that cannot be reversed.