Create an Estimate
Use the Lines tab to create an estimate: export the information to
Before you can create an estimate, you need to create an opportunity. If the opportunity already exists, be sure it includes the vehicle identification information.
Note: Although you can create an estimate in RepairCenter and export the administrative information to an estimating system, it is highly recommended to always start your estimate in the estimating system of your choice and from there, RepairCenter will show the estimate shell as an Opportunity once you export the EMS files. This will ensure all the data you enter will transfer to RepairCenter. Only limited Administrative information can transfer from RepairCenter to your estimating system so you may still have some double entry to do. If you start with the estimating system, no double entry will be required.
How to
When you create an opportunity, you enter administrative information about the vehicle, insurance, and people related to an opportunity on the Admin tab. The only required field is easily identified by an asterisk ![]() at the beginning of the field. Which field is required depends on whether the owner is a person or a business.
at the beginning of the field. Which field is required depends on whether the owner is a person or a business.
For more information about each of the sections and their fields, see Admin.
- On the toolbar, click Jobs, then click List View.
- On the List View tab, click New. The Admin window appears.
- In the Contacts section, in the Last Name box, type the owner's last name. (If the owner is a business, select the Business check box, and then type the Company Name.)
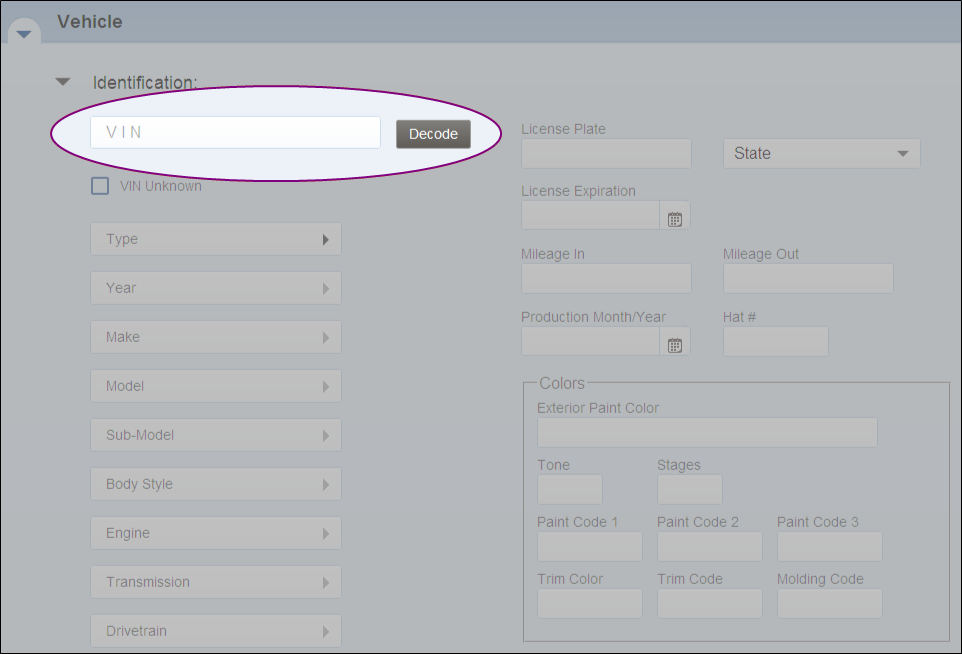
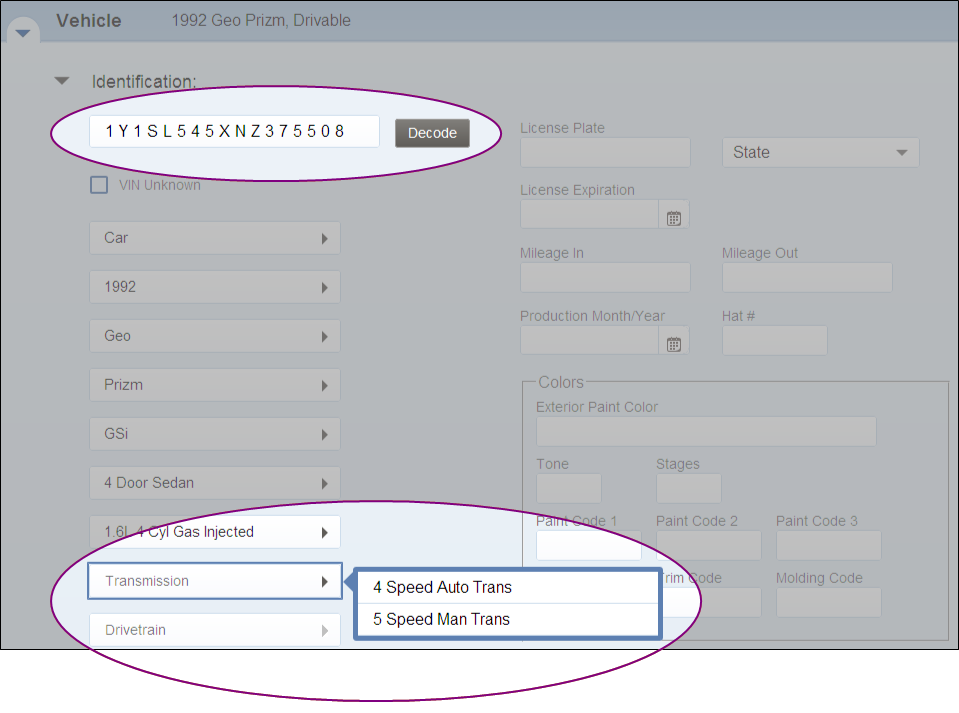
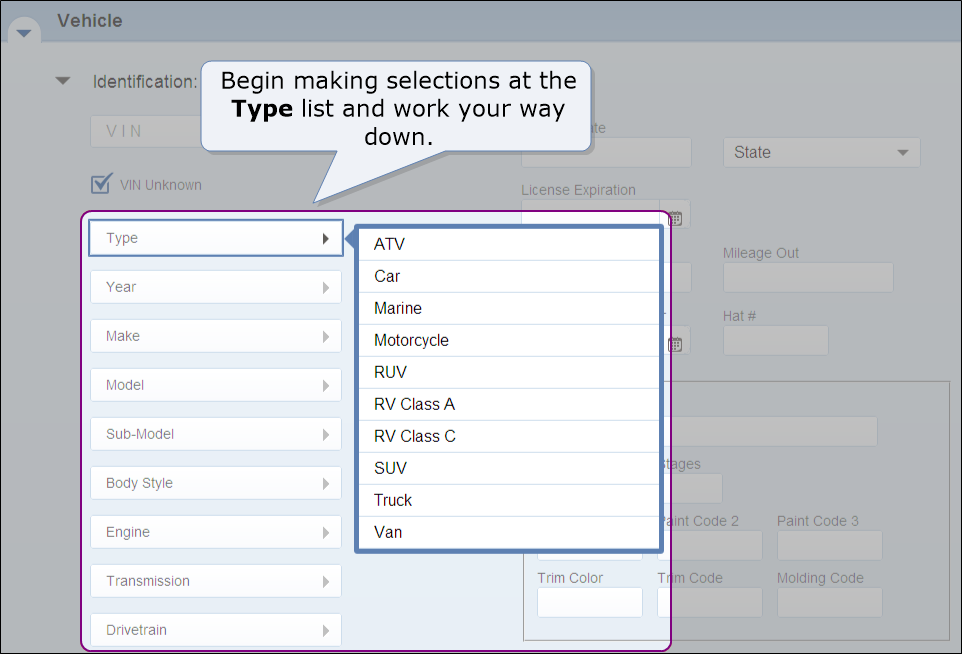
- Identify the vehicle (required to write an estimate) by one of two methods:
- Complete any other fields.
- At any point before clicking Create, you can click Cancel to cancel the opportunity and return to the List View.
- Click Create to create the opportunity.
The steps for creating an estimate depend on which estimating program you're using.
No. If you're using Mitchell Estimating If you're using a third-party estimating program 1
In the open opportunity, click the Estimate tab. The Estimate tab opens to the Lines tab.
In the open opportunity, click the Estimate tab. The Estimate tab opens to the Lines tab.
2
Under Create Estimate, click Mitchell.
Under Create Estimate, click the estimating system you are using.
3
On the Estimate in Progress window, click Open Mitchell Estimating to log on to Mitchell Estimating (or click UltraMate
on the taskbar if you are already logged on).
Log on to your estimating system, or click it on the taskbar if you are already logged on.
4
Switch to Mitchell Estimating.
Switch to your estimating system.
5
On the Estimates tab, double-click the estimate. The estimate opens to the Repair tab, where you can add repair lines.
Add repair lines to the estimate.
6
Ensure that the proper estimate profile is selected.
When you finish adding repair lines, commit (lock) the estimate.
7
When you finish adding repair lines, click Calculate
.
Print the estimate to the RC Print Image Writer to create a .pdf file.
Note: You will attach the .pdf file to the opportunity when you send the estimate.
8
Click Save
.
9
Review Compliance Utility results, and then revise the estimate to comply.
Switch to RepairCenter.
10
On the File menu, click Commit & Close.
On the List View tab, click Refresh
. The estimate appears on the Opportunities list.
11 None 12
Switch to RepairCenter.
None
13
On the Estimate tab for the opportunity, click Import Estimate. A success message appears.
None
- In the open opportunity, click the Estimate tab.
- Under Create Estimate, click Mitchell.
- On the Estimate in Progress window, click Open Mitchell Estimating to log on to Mitchell Estimating (or click >UltraMate
on the taskbar if you are already logged on).
- Switch to Mitchell Estimating.
- On the Estimates tab, double-click the estimate. The estimate opens to the Repair tab, where you can add repair lines.
- Ensure that the proper estimate profile is selected.
- When you finish adding repair lines, click Calculate
.
- Click Save
.
- Review Compliance Utility results, and then revise the estimate to comply.
- On the File menu, click Commit & Close.
- On the taskbar, click RepairCenter
.
- Switch to RepairCenter.
- On the Estimate tab for the opportunity, click Import Estimate. A success message appears.


