Change Reasons
Within Configuration, use the Change Reasons tab under the Production tab to configure reasons for changes to the Due in Date and the Due out Date. Recording these reasons ensures consistent explanations and traceability for changes made during the repair process. When a date or status is changed, the reason is recorded in the job's notes. Selecting a reason for a date change is optional, unless your shop is configured to require it.
How to
- On the toolbar, click the More menu list at the top right; then select Configuration.
- Click the Production tab, then click the Change Reasons tab.
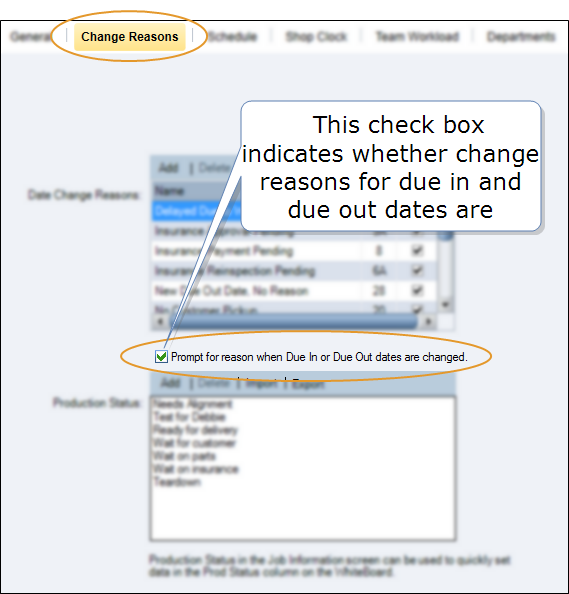
- Select the check box Prompt for reason when Due In or Due Out dates are changed.
- Click the Update button to save your work.
- On the toolbar, click the More menu list at the top right; then select Configuration.
- Click the Production tab, then click the Change Reasons tab.
-
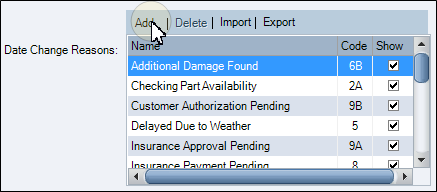
Above the Date Change Reasons box, click Add.
-
In the ADD Reason box, type a name for the new reason, then click OK. The new reason appears in the Date Change Reasons box. The Show check box is selected and the Code column displays 14.
- If you don't want the change reason to be available when someone changes a date, clear the Show check box in the Date Change Reasons box.
- To require a change reason when someone changes a Due in Date or a Due out Date, select the Prompt for reason when Due In or Due Out dates are changed check box.
- Click the Update button to save your work.
- On the toolbar, click the More menu list at the top right; then select Configuration.
- Click the Production tab, then click the Change Reasons tab.
- In the Date Change Reasons box, click to select the reason you want to delete.
-
Click Delete.
Note: If Delete is unavailable, the selected reason cannot be deleted. You can only delete reasons added by yourself or another user.
- In the confirmation message, click Yes to confirm the deletion.
You can hide a Date Change Reason from view if you want to make the reason unavailable but don't want to delete the reason.
- On the toolbar, click the More menu list at the top right; then select Configuration.
- Click the Production tab, then click the Change Reasons tab.
- Clear the Show check box next to the Date Change Reason you want to hide.
- Click Update.
Note: To make the Date Change Reason available again, click the Show check box, then click the Update button.
Reference
Selecting a reason for a date change is optional unless RepairCenter is configured to require it.

