Manage Multiple Estimates on the Same Job
Some insurance companies allow multiple estimates on the same job. Shops can send single or multiple estimates for one job to insurance companies at the same time. In addition, each estimate will maintain its unique status, including but not limited to: Approved, Rejected, and Cancelled.
Note: This feature is not available to all Mitchell Connect users.
There are two main reasons why multiple estimates would appear on the same job:
-
Insurance companies may require that primary, related or unrelated prior damages are recorded. These damages are captured as separate estimates but need to be accommodated under the same job.
- Payment systems may not be able to accommodate subsequent estimates. Insurance companies send a new appraisal assignment under the same suffix, and the shop can manage this separate but related estimate from the same job.
How to
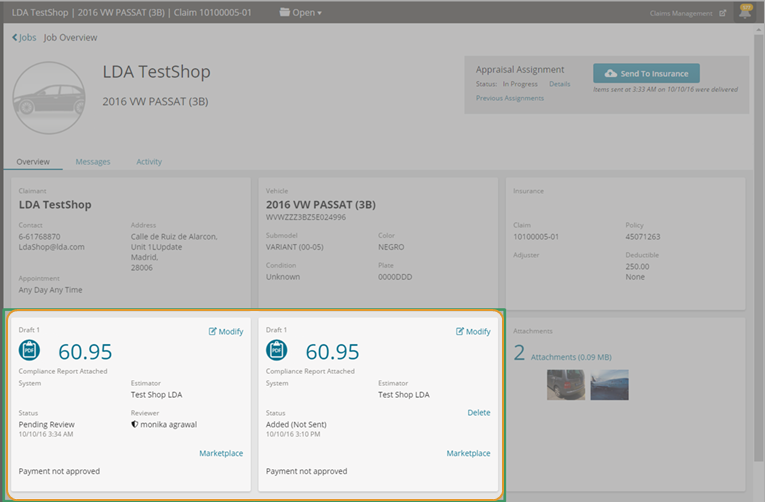
Multiple estimates appear as separate Estimate cards on a job.
- Click on any blank section on the Estimate card you want to open.
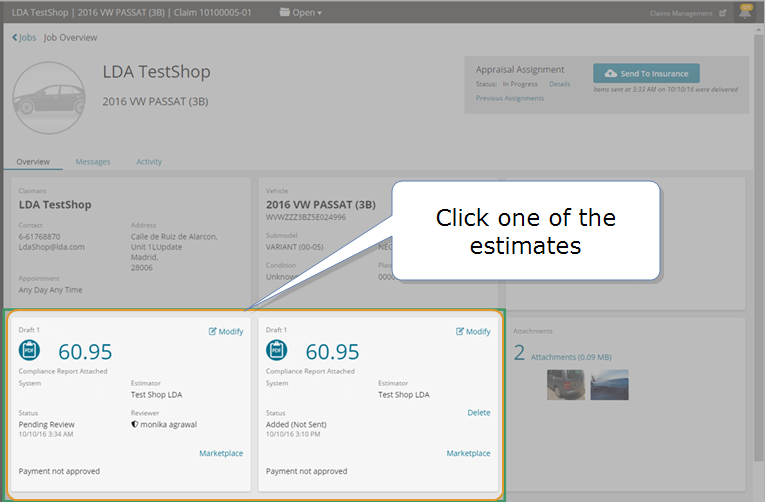
- The Estimate Management page appears providing a history of changes and supplement versions of the estimate.
- On the Job Overview page, click Upload Attachments.
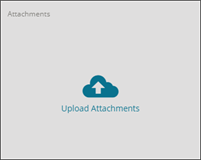
- Click Upload.
- Browse to the files you want to attach.
- Select all of the files you want to attach and click Open. Your images will load in Upload Complete window.
Tip: You can select multiple files by holding down Ctrl while clicking each file or drag and drop your images directly on the attachments page.
- If you are uploading multiple images, Mitchell Connect shows a progress bar for each image as it uploads. Click to the left of Show Completed if you only want to show images that failed to load. Click the Retry icon next to the failed upload if you want to try to upload a failed file again.
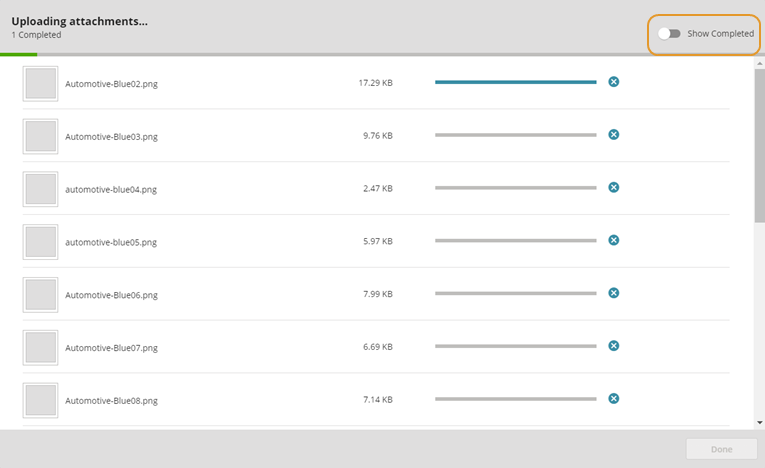
Note: For failed attachment file uploads, Mitchell Connect automatically attempts to retry the upload three times. On the third failed attempt, the Mitchell Connect Upload window clearly identifies any attachments that failed to upload. Click Retry All to attempt to upload all attachments again or click Exit Anyway to close the window without loading those attachments.
- If all files are successfully uploaded, the Uploading Attachment window closes for you.
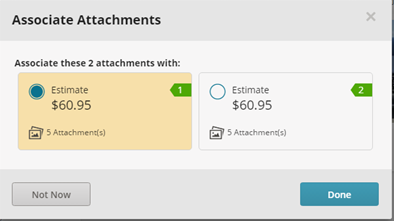
- If there are two estimates associated with a job, the Associate Attachments window appears. Select the estimate you want the attachments associated with, and then click Done.
- To add more attachments, click Upload to reopen the Open dialog box.
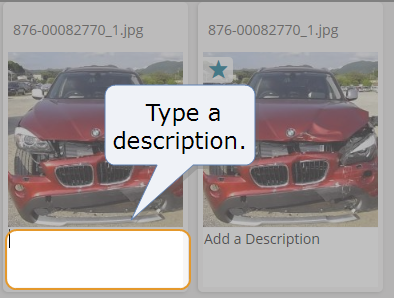
- To add a description to an attachment, click Add a Description and then type a description in the text box.
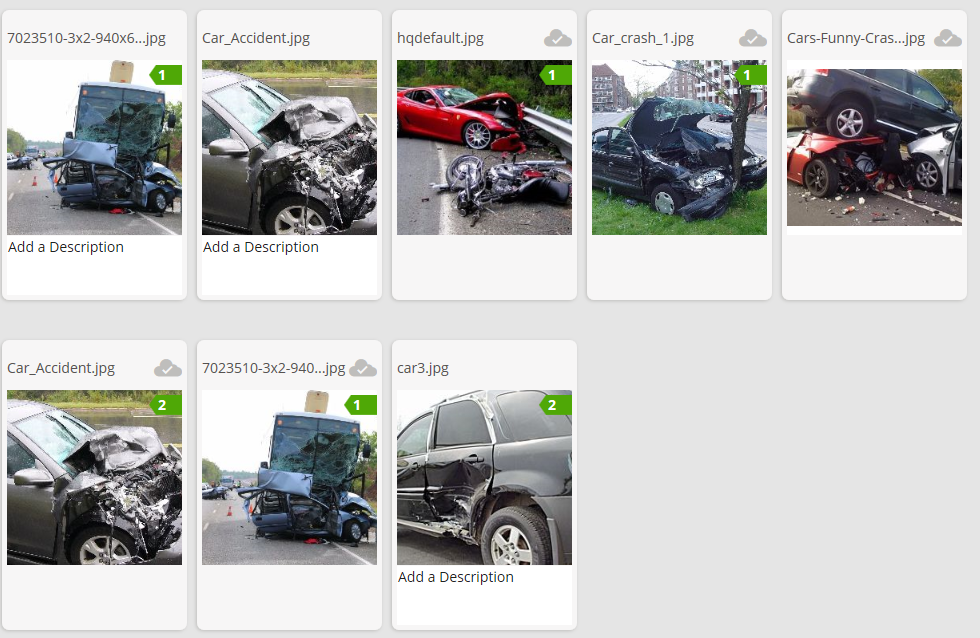
- Attachments are labeled with a number to indicate which estimate they are associated with. When you're finished, click Job Overview to return to the Job Overview page.
Note: Attachments that have already been sent to the insurance company cannot be deleted and descriptions cannot be edited. You are also unable to change which estimate the attachments are associated to if they have already been sent to the insurance company.
If you have multiple estimates on the same job, you can assign or re-assign which estimate the image is associated with.
Note: This feature is only available for jobs with multiple estimates and is not available to all users.
- On the Job Overview page, click anywhere on the Attachments card.
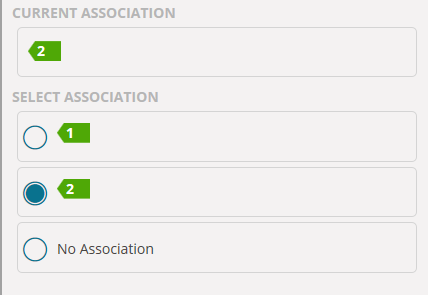
- Click the attachment you want to change.
- Select the estimate you want to associate with the attachment. Select No Association if you don't want it associated with any estimate at this time.
- Click Done
Note: This feature is only available if the job has more than one estimate and is not available to all users.
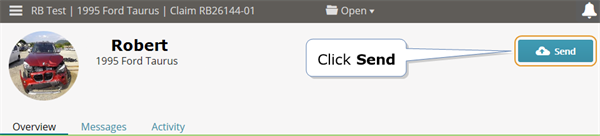
- On the Job Overview page for the assignment, click Send.
- In the Items to Send dialog box, select the estimate you want to send.
Note: The Items to Send dialog box only shows you the new items associated with estimates that have not yet been sent to the insurance company.
- Click Total Loss if the vehicle is beyond repair.
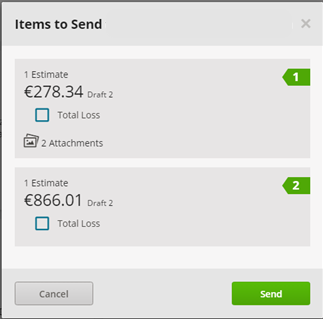
- Click Send.
Tip: You can send artifacts in increments if needed if you've already sent an estimate. For example: If you forgot to add two photos, you can send them separately at any time.