Journals (Formerly Messages)
Use the journals feature to send important information to the insurance company directly from Mitchell Connect. Assignment notes entered in WorkCenter are also available from the Journals tab.
Notes: The Journal feature was formerly known as Messages. The name was changed to better align with industry naming conventions and the Journal feature in WorkCenter.
![]() How to Demo
How to Demo
Watch Send a Journal (Message) Demo
How to
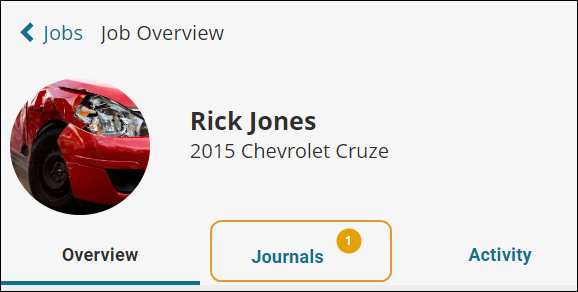
- On the Job Overview page, click the Journals tab. If no number displays, there are no journal entries. Journals display in the order they were sent. Assignment notes entered in WorkCenter appear near the bottom of the list. Scroll down to see additional journals.
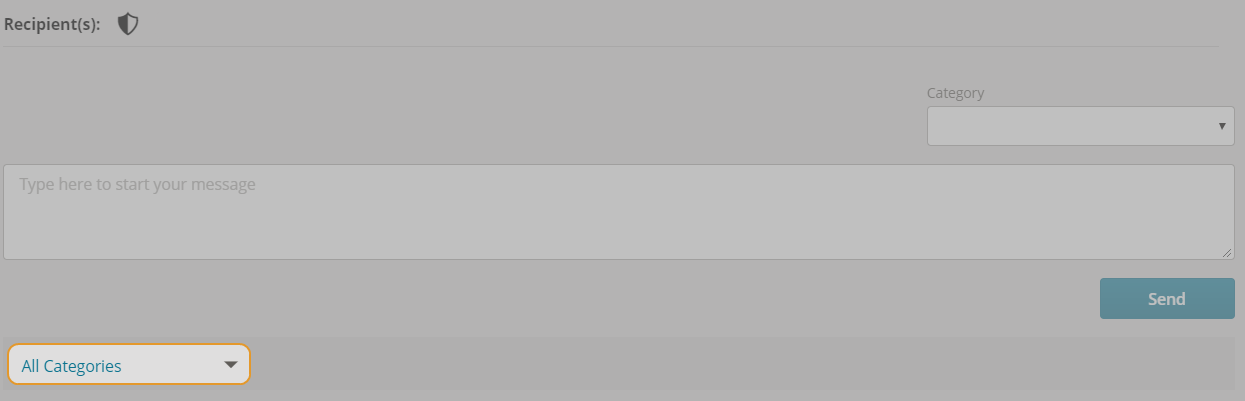
- Enter your message and click Send Journal.

Tip: If your workflow includes journal entries, you can also select a journal category. Select the category in the Category list. If you only have one category, it is automatically applied to the journal and the category list does not appear.
- Click Overview to return to the Job Overview page.
If your workflow allows journal entries, you can filter the list of journal entries by journal category.
- On the Job Overview page, click the Journals tab. If no number displays, there are no entries.
- Click the arrow next to All Categories and select the category you want to filter.
Journals can be printed or saved as a PDF.
- On the Job Overview page, click the Journals tab.
- Under the message field, click the Print icon
 . The journals PDF will open in a new tab in your browser.
 - Follow your browser prompts to save or print the PDF.
You can flag journal as public or private, limiting the view of journals to authorized users. Private journals are visible in WorkCenter and to any Mitchell Connect user with the Private Journals and Private Only role.
Note: This features is only available to business partners and staff appraisers configured with Private Journals and Private Only settings.
- On the Job Overview page, click Journals.
- Select one of the following:
- Private: Flag the message as private and send to authorized users.
- Public: Flag the message as public, readable to all users in your shop or organization.
Note: If you are configured for Private Only, these options do not appear. All journals will be flagged as private.
- Enter your message in the text box.
- Click Send Private Journal.
Note: This features is only available to business partners and staff appraisers configured with Private Journals and Private Only settings.
Filter your journals to public, private or all journals.
- On the Job Overview page, click Journals.
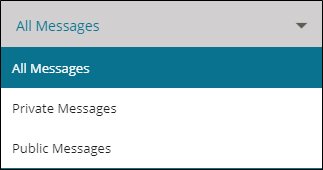
- In the Journals list, select any of the following:
- All Journals: Show all journals, public and private.
- Private Journals: Show only private journals.
- Public Journals: Show only public journals.
Save time by using the Saved Journals feature to re-used commonly used content stored as Saved Journals. Templated content is stored in Saved Journals (see Create and Manage Saved Journals). You can select the Saved Journal text when you create a new journal.
-
On the Job Overview page, click Journals.
-
Clear any text in the Type Here to Start Your Journal box. You cannot use saved text if there is text in this box.
-
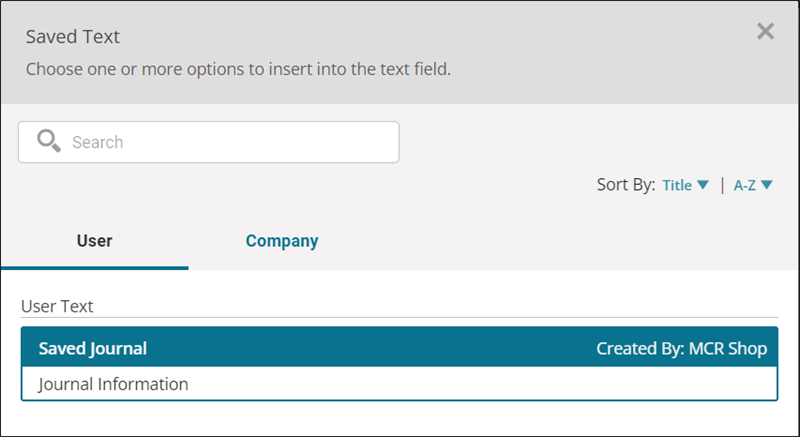
Click Add Saved Journal.
-
Do one of the following:
-
Click the User tab: For Saved Journals you created or others in your shop created.
-
Click the Company tab: For Saved Journals you created by you, anyone in your shop, other staff users, or the insurance company.
-
Scroll through the saved text or use the Search box or Sort By lists to locate the saved text you are looking for. You can also click Expand All to for a complete view of each text box.
-
Select the saved text you want to use.
-
Click Insert.
-
Enter any additional text as needed.
-
Click Send Journal.
Mitchell Connect users are now able to seamlessly exchange journal messages with insurance company partners directly from the Journals tab on the job, without waiting for an assignment. This enhancement improves collaboration and efficiency by instantly connecting insurance company partners with our users in Connect, reducing turnaround time for critical updates and reducing the reliance on external platforms.
Note: This features is only available to jobs for insurance companies participating in the journal feature.
-
On Jobs list, create a new Job using one of the available options:
-
+Job
-
+Job - Enable Send to Insurance
Note. If a job already exists and you didn't enter the insurance information, click the Insurance card on the Job Overview page.
-
-
Complete vehicle information.
-
On the Insurance page, enter the insurance company name in the Insurance Company field in the Claim and Payer Information section. Mitchell Connect locates the insurance company as you enter the name. You can also click the Insurance Company field, scroll through the list, and select the insurance company.
-
Click Done when complete.
-
On the Job Overview page, click Journals.
Send Journal entries as emails to adjusters when composing and sending a Journal message. The Journal is sent via email to the listed recipients and saved in the Journal tab in Mitchell Connect. You can also include additional notes alongside your Journal entry, up to 500 characters.
This new feature provides:
-
Efficient Communication: Seamlessly notify stakeholders via email while documenting the journal entry.
-
Custom Notes: Add context or instructions to your journal for better clarity.
-
Adjuster Interaction: Easily select pre-populated adjusters and send journals directly from the Journal tab to their email.
-
On the Job Overview page, click the Journals tab.
- Enter your message in the Journal Entry box.
- In the Direct Email Notification section, click the check box next to the Adjuster name. The name and email is pre-populated.
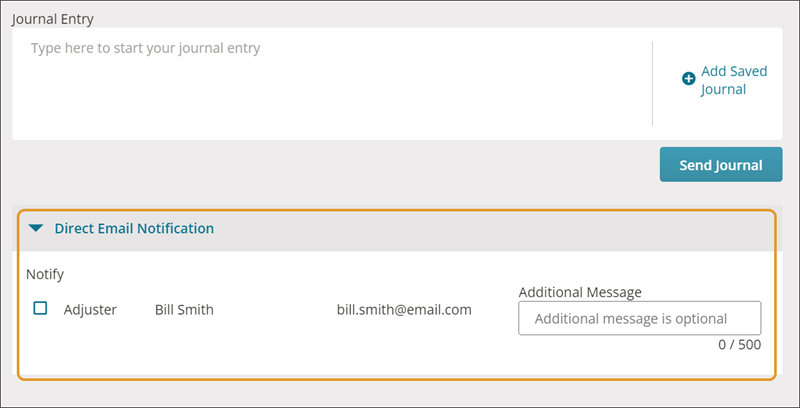
Note: The Adjuster contact information must be added to the job prior to using this feature. If the Direct Email Notification section is not available, go to the Job Overview page, click the Insurance card, and enter the Adjuster information.
- Enter additional notes in the Notes field.
Note: You can include additional notes alongside your journal entry, up to 500 characters. These notes appear in the body of the email after the journal message.
- Click Send Journal.
- Click Overview to return to the Job Overview page.