Mitchell Diagnostics Invoices
Manage your scan and calibration reports by generating invoices.
How to
View an invoice for any diagnostics scan in Mitchell Connect.
Note: If you didn't configure your settings for invoices, you will be prompted to do so when you create your first invoice.
- On the navigation pane, click Diagnostics, and then click View Reports on the Scans card.
- On the Scan Reports page, select the vehicle you want to view. The most recent scan appears at the top. Use the Vehicle, VIN, or Date & Time tabs to sort as needed.
- Select the Scans tab if not already selected.
- Select the scan you want to view.
Tip: You can also access scans for a specific vehicle directly from the Job Overview page. Select Scans on the Diagnostics card on the Job Overview page. On the Scans tab, select the specific scan.
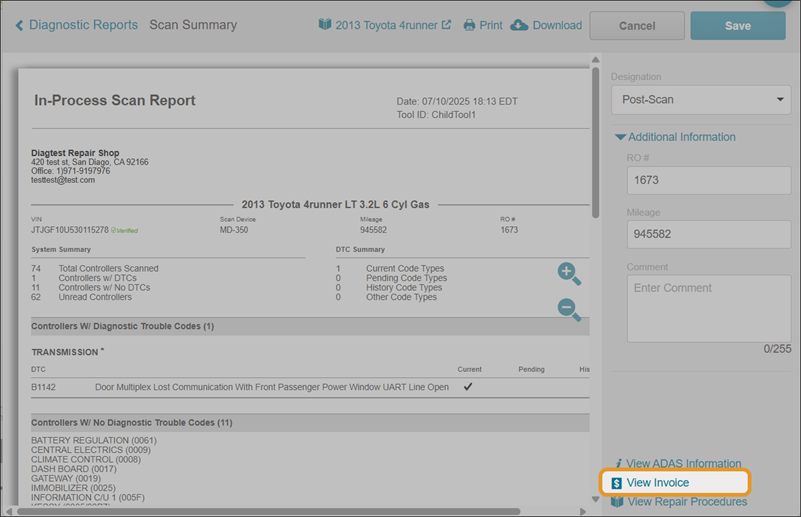
- On the Scan Summary page, use the Designation list to select a scan (if multiple are available - optional).
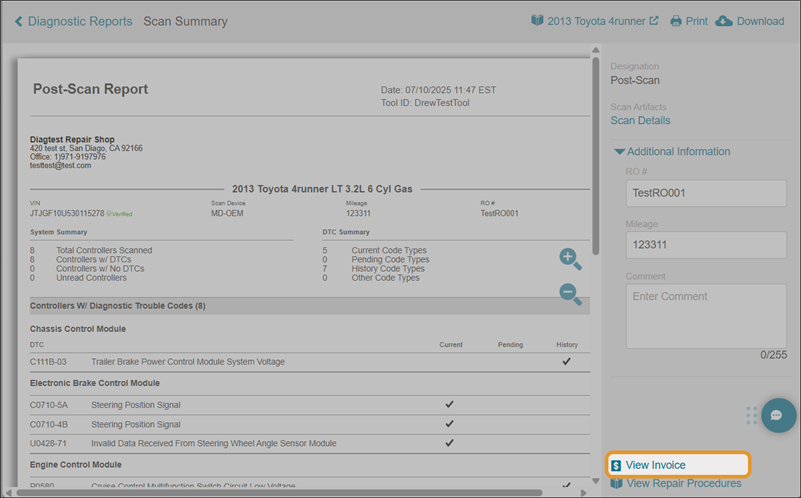
- On the Scan Summary page, select View Invoice.
-
On the Add Information to Invoice window, select the diagnostics invoice profile in the Invoice Profile list. Use this list to determine what predefined rates and details are included on the invoice.
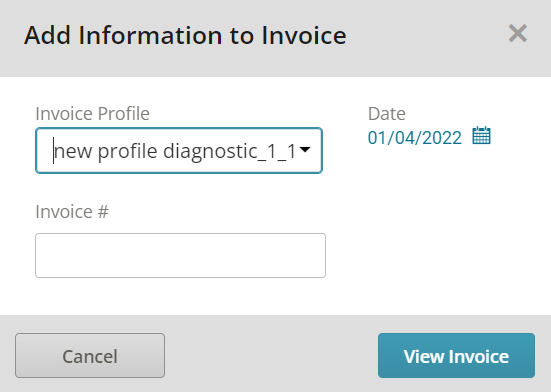
- On the Add Information to Invoice window, enter an invoice number in the Invoice # field. The invoice date defaults to today's date. If you want to change the date, click
 and then enter or select a date.
 - Follow your internet browser prompts to open and save the PDF invoice.
- View in the invoice on the Scan Summary - Invoice page. Select Print or Download to save your print or save your invoice.
Track charges for Calibration reports by viewing and generating an invoice. Create Invoice Profiles for Calibration reports prior to viewing an invoice.
-
On the navigation pane, click Diagnostics.
-
On the Dashboard page, click View Reports on the Calibrations graph.
-
On the Calibrations Reports page, click the vehicle for the calibration you want to view.
-
On the Calibrations tab, click the calibration you want to view.
-
On the Calibration Summary page, click the View Invoice link.
-
In the Add Information to Invoice Window, select the following:
-
Use the Invoice Profile list to select the invoice profile to determine what predefined rates and details are included on the invoice.
-
Use the Invoice # field to enter an invoice number.
-
Use the Date calendar to select a different date as needed.

- View in the invoice on the Calibration Summary - Invoice page. Select Print or Download to save your print or save your invoice.